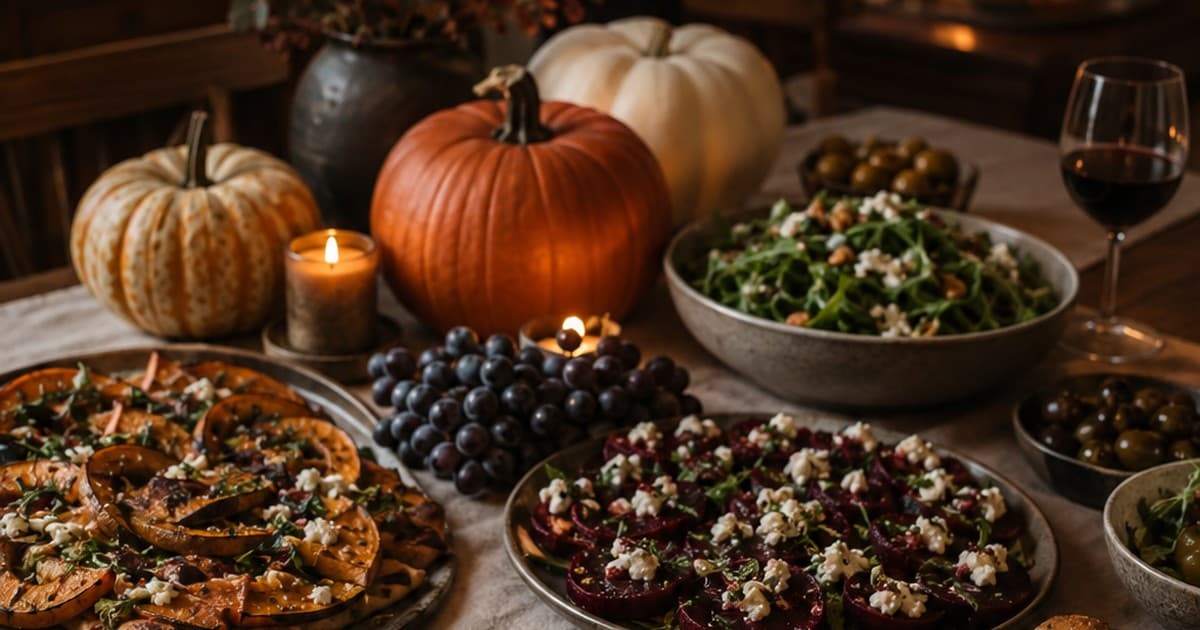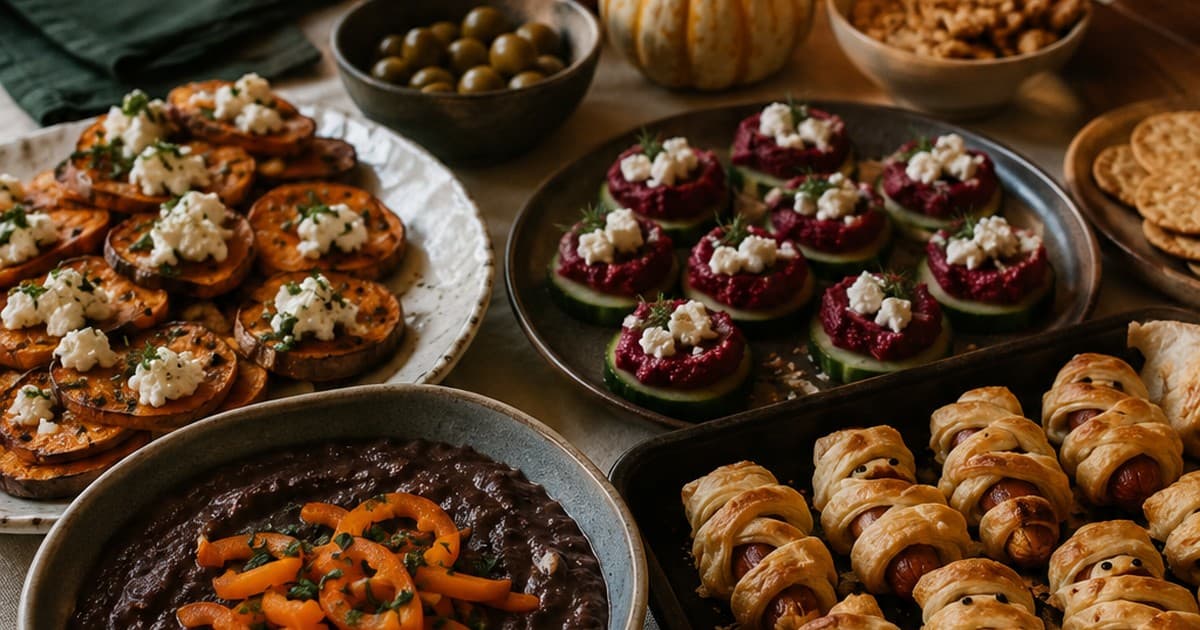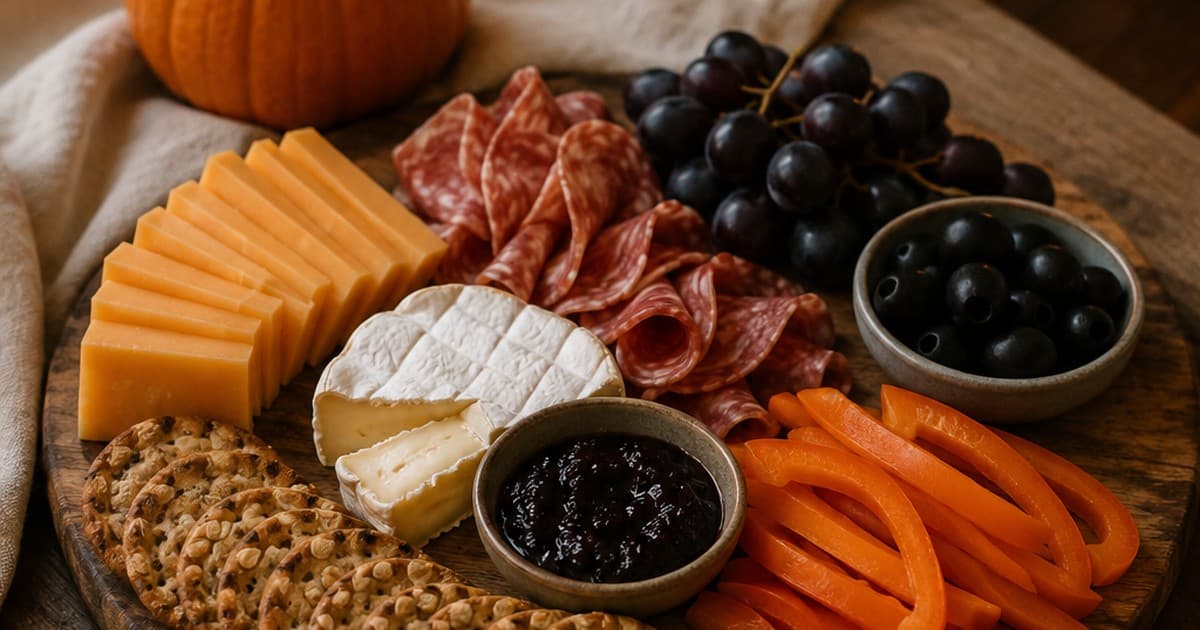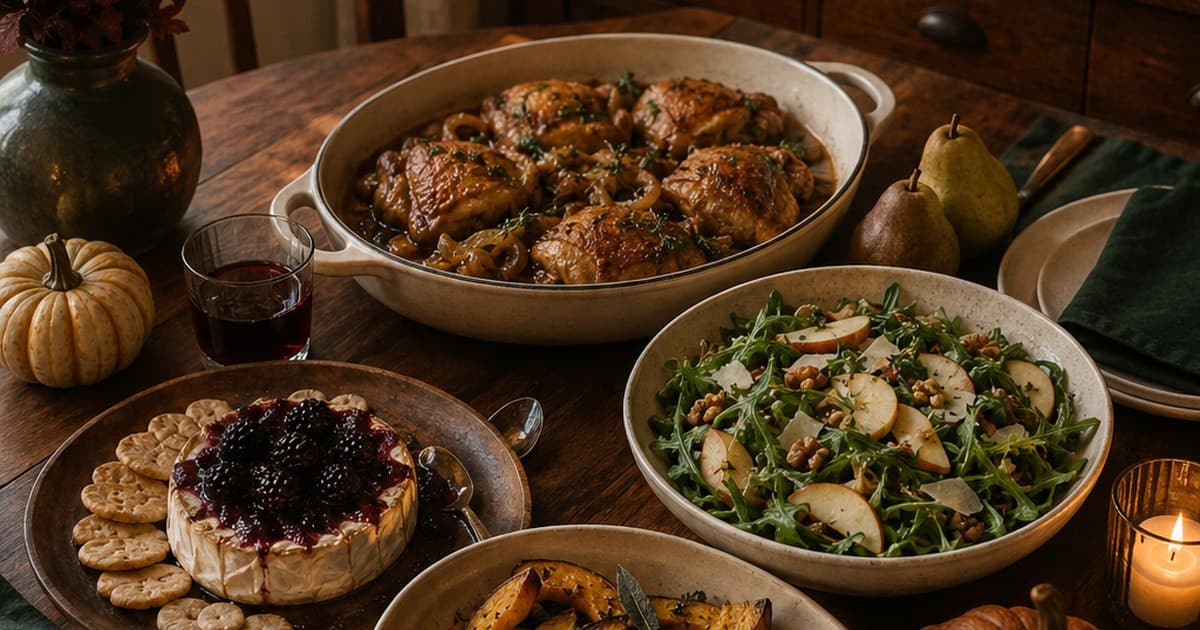
A Halloween dinner party is more fun when dinner is recognizable. You can make the room dark and dramatic without making the mashed potatoes look haunted. This menu uses normal autumn food, a few naturally moody colors, and one important operating rule: by the time the doorbell rings, nothing should require your full attention for more than five minutes.
Set the table without creating another project
Use what you own and repeat two or three colors. Dark napkins with cream plates, rust with green, or black with warm wood all work. Put candles or safe battery lights down the center with one low bowl of pears, mini pumpkins, or branches. Keep the centerpiece low enough that people can see each other.
Do not cover the table with tiny objects that have to be moved when dinner arrives. Serving dishes need somewhere to land, water needs to be poured, and guests need elbow room. The party is the people at the table, not the center stripe.
Reverse timeline: one week out to one hour before
One week out, confirm the guest count and ask about allergies or major dietary needs. Choose a main you have cooked before or a technique you understand. Decide where coats go, whether dinner is fully seated, and what serving pieces each dish will use.
Two days out, shop for shelf-stable and durable ingredients, make vinaigrette, prepare dessert if it holds, and clear refrigerator space. If the main is a braise or another dish that improves overnight, cook it now or the next day according to the recipe you are using.
One day out, finish dessert, prep vegetables, wash salad greens, set the table, and assemble any non-perishable decor. Label serving dishes mentally or with removable notes so you do not discover at 6:15 that the only bowl big enough for salad is full of decorative pears.
The morning of, make the starter components, prepare the warm side for roasting, and check the main. Chill drinks. Empty the dishwasher and clear the sink. The kitchen should look boring by afternoon.
Two hours before, reheat the main gently, assemble the first version of the starter, and put water on the table. One hour before, roast the warm side or start the single oven task. Thirty minutes before, stop cooking, get ready, set out the starter, adjust lighting, and start music. Dress the salad only when dinner is about to be served.
The host checklist
This checklist is deliberately operational. Run it before you start adding extra garnish to anything.
- Guest dietary needs checked before shopping.
- One starter designed for cold or room-temperature service is ready for the arrival window.
- Main can wait or reheat without losing quality.
- Only one meaningful oven task in the final hour.
- Salad washed and vinaigrette made; dress at serving time.
- Dessert fully made or requires only plating.
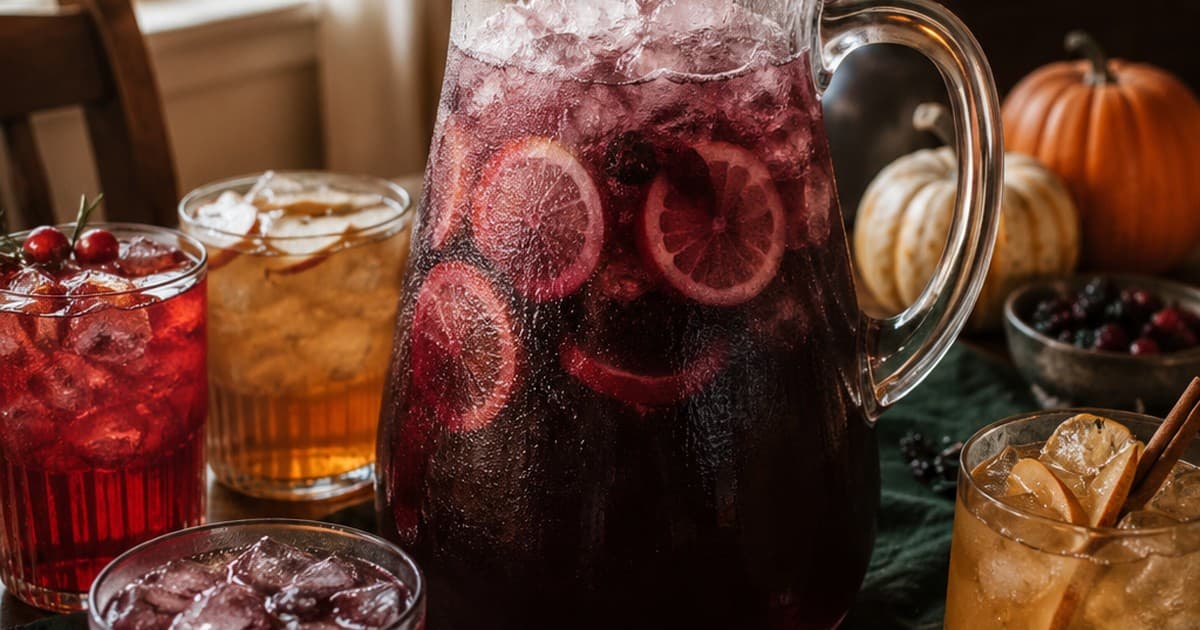
- Water and non-alcoholic drink are obvious and easy to refill.
- Serving utensils are already with their dishes.
- Dishwasher and sink have space for the first dirty wave.
- Host stops kitchen work at least 30 minutes before arrival.
Serve in courses only where it helps
You do not need restaurant pacing. Put the starter out before guests arrive. Once everyone has settled, clear or move it, then serve main and sides together. Dessert can come later after the table has been casually cleared. Three moments are enough.
For a larger group, serving the main family-style can be easier than plating. If the table is too small for serving dishes, make a buffet on a nearby counter and let the dining table stay open for people, glasses, and conversation.
Food-safety without hovering over the table
Use small starter platters and keep backup perishables refrigerated until needed. FDA buffet guidance recommends keeping cold foods at 40°F or colder and hot foods at 140°F or warmer. USDA guidance generally limits perishable food at room temperature to two hours, or one hour when the ambient temperature is above 90°F.
A make-ahead dinner can be safer and easier because food spends less time drifting around the temperature zone between refrigerator and table. Reheat according to the recipe and food-safety guidance appropriate to the dish, and use a food thermometer where needed.
What to skip
Skip a starter that must be fried as guests walk in, a main that needs constant stirring, two sides fighting for different oven temperatures, and a dessert that has to be flambéed for the first time in your life. Skip food styled to look disgusting unless your specific friends enjoy that joke.
Also skip apologizing. Do not announce that the napkins do not match or the squash got darker than planned. If the food is good, the room is warm, and you are at the table, you are hosting correctly.
SOURCES
Sources & references
These links support factual rules, quantities, safety guidance, or planning context. The final prioritization and sequencing in this guide are editorial decisions. See how sources are chosen.
- Public guidanceFDA — Serving Up Safe Buffetsfda.gov
- Public guidanceUSDA FSIS — The 2 Hour Ruleask.fsis.usda.gov
FAQ
Questions people ask before guests arrive
What is a good easy Halloween dinner party menu?
Use a starter designed for cold or room-temperature service, a reheatable main such as a braise or baked pasta, one roasted vegetable, one fresh salad, and a fully make-ahead dessert. This gives the meal contrast while protecting the final hour.
How can I make dinner look Halloween-themed without novelty food?
Use naturally dark and autumn-colored ingredients, warm low lighting, and a limited table palette. Dark fruit, olives, mushrooms, chocolate, squash, herbs, and cream or black serving pieces create the mood without shaped food.
What should I make ahead for a dinner party?
Prioritize dessert, vinaigrette, starter components, washed greens, cut vegetables, and any main that reheats well. Set the table and assign serving dishes the day before so the final hour is mostly reheating and one oven task.
How do I host dinner when guests may arrive late?
Choose a flexible starter and a main that can hold or reheat rather than one that must be served at an exact second. Avoid dressing salad or cutting crisp bread until you are closer to eating, and keep the arrival period relaxed.